We have already covered so far how to make cell Bold and Bordering in Part1
http://saxenablogs.blogspot.com/2011/07/formatting-in-excel.html
how to make the cell filled with Color and change the Text Color in Part 2
http://saxenablogs.blogspot.com/2011/07/formatting-in-excel-part-2.html
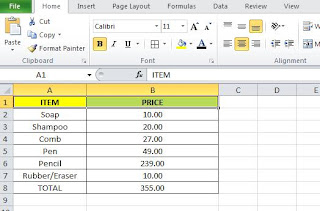
In this part we are going to explore how to make the Cell content change with the required FONT type choose the cell as shown

 Thus above steps helps us to convert the text FONT in our choosen cells
if we want to choose the entire worksheet just click on the corner as shown


http://saxenablogs.blogspot.com/2011/07/formatting-in-excel.html
how to make the cell filled with Color and change the Text Color in Part 2
http://saxenablogs.blogspot.com/2011/07/formatting-in-excel-part-2.html
In this part we are going to explore how to make the Cell content change with the required FONT type choose the cell as shown

Now click on the Font Column and choose the required value from dropdown

Thus making or choosing the above value convert the Text of choosen column to Times New Roman font

if we want to choose the entire worksheet just click on the corner as shown

Thus by clicking on the highlighted corner the entire worksheet is highlighted now we can click on the Font to choose the required value not only that we can also make the Text Size as shown for entire selected sheet

The final output with required selected FONT SIZE and FONT is shown below

The above steps shows the way to change the Font and its size in the excel for entire sheet or few selected cells.
We explore more soon.
No comments:
Post a Comment